Slicing in Design Space is a crucial skill for creating clean and precise designs. By mastering this technique, you can easily separate overlapping elements and achieve that perfect cut. It’s all about enhancing your designs with sharp edges and seamless transitions. In this article, we’ll delve into the step-by-step process of how to slice in Design Space, guiding you through each click and drag to unlock endless creative possibilities. Let’s sharpen those design skills and elevate your projects to the next level.

Mastering the Art of Slicing in Design Space
Introduction
Welcome to the exciting world of design space! If you’ve ever wondered how to take your creativity to the next level, mastering the art of slicing in design space is a crucial skill to learn. Slicing allows you to cut and separate different parts of your design, enabling you to create intricate and detailed projects that will truly stand out. In this comprehensive guide, we will walk you through everything you need to know about slicing in design space, from the basics to advanced techniques.
Understanding the Basics of Slicing
Slicing in design space is like using a virtual pair of scissors to cut through your design elements. Imagine you have a beautiful image or text that you want to customize or separate into different parts. Slicing allows you to precisely divide these elements without altering the original design.
Tools You Need
Before we dive into the slicing process, make sure you have the right tools at your disposal. All you need is a computer or mobile device with Design Space software installed and a cutting machine compatible with the software.
Accessing the Slice Tool
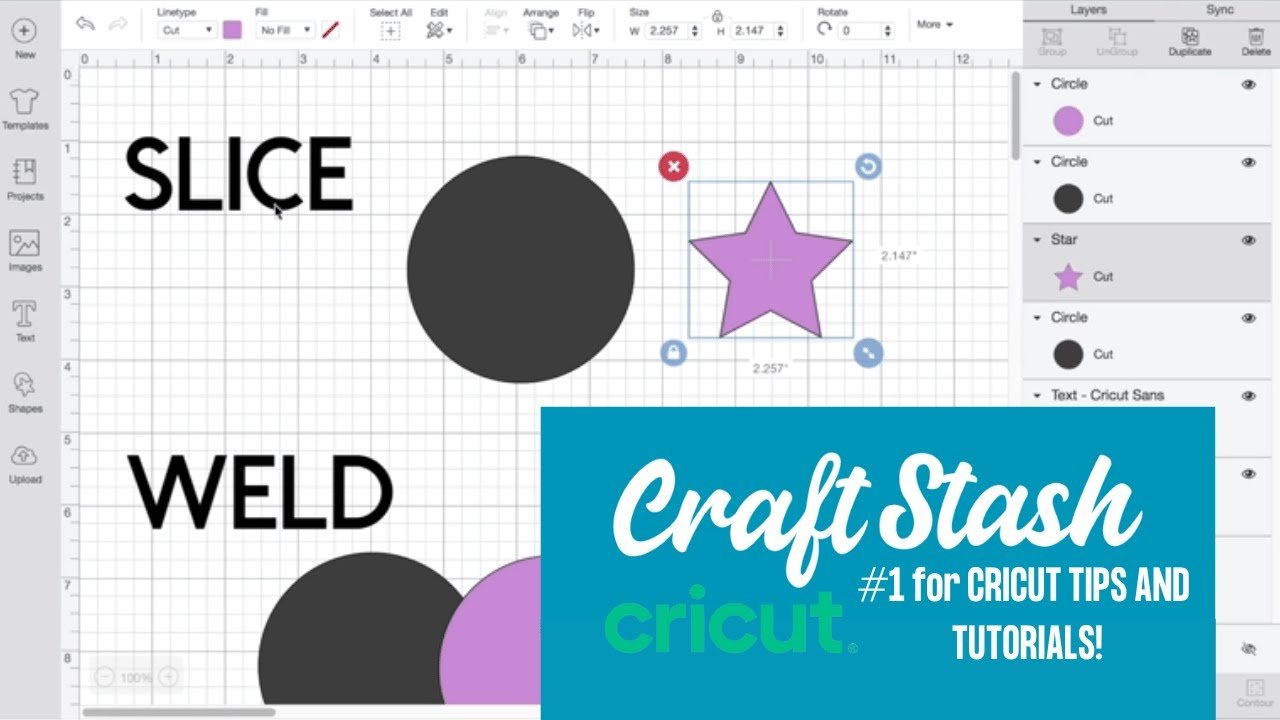
To start slicing, open your design in Design Space. Select the elements you want to slice by clicking and dragging your cursor over them. Once the elements are selected, you will see the “Slice” tool appear in the bottom right corner. Click on it to initiate the slicing process.
Mastering the Slicing Technique
Now that you have a basic understanding of slicing, let’s explore some key techniques to help you master this skill.
Creating Borders
One useful technique in slicing is creating borders around your design elements. This involves using shapes or lines to outline specific areas that you want to separate. By adding borders, you can slice more precisely and achieve cleaner cuts.
Layering for Depth
Layering is another powerful technique in slicing that can add depth and dimension to your designs. By stacking different elements on top of each other and then slicing through them, you can create intricate patterns and textures that will make your projects truly unique.
Combining Slicing with Welding
Welding is the process of merging two or more design elements into a single cohesive piece. By combining slicing with welding, you can create complex designs that would be impossible to achieve with a single cut. Experiment with different combinations to unleash your creativity.
Advanced Slicing Tips and Tricks
Once you have mastered the basics, it’s time to explore some advanced tips and tricks to take your slicing skills to the next level.
Using Contour to Refine Cuts
Contour is a powerful tool in Design Space that allows you to hide or reveal specific parts of a design. By using contour in conjunction with slicing, you can refine your cuts and create intricate details with ease.
Overlapping Slices for Intricate Designs
For designs that require intricate details and complex shapes, overlapping slices can be a game-changer. By carefully overlapping your slices, you can create seamless transitions between different elements and achieve a professional finish.
Experimenting with Negative Space
Negative space refers to the empty areas around and within your design elements. By leveraging negative space creatively in your slicing projects, you can achieve visually stunning effects that will captivate your audience. Experiment with different negative space patterns to add a touch of sophistication to your designs.
Congratulations on completing this comprehensive guide on slicing in design space! By mastering the art of slicing, you have unlocked a world of creative possibilities that will enable you to create stunning projects that reflect your unique style and imagination. Remember, practice makes perfect, so don’t be afraid to experiment and push your slicing skills to new heights. Embrace the power of slicing in design space and let your creativity soar!
How to Slice in Cricut Design Space | Cricut Basics
Frequently Asked Questions
What is the slicing tool in Design Space used for?
The slicing tool in Design Space is used to cut shapes, text, or images into multiple pieces to create custom designs or layouts.
How do I use the slicing tool in Design Space?
To use the slicing tool in Design Space, simply select the items you want to slice, then click on the “Slice” button in the lower right corner of the screen. This will divide the selected items into separate pieces.
Can I slice text in Design Space?
Yes, you can slice text in Design Space. Simply convert your text into a “Cut” image by selecting the text and clicking on “Weld” to turn it into a single image before using the slicing tool.
Is it possible to slice complex designs in Design Space?
Yes, you can slice complex designs in Design Space by selecting all the elements you want to cut and then using the slicing tool. This allows you to create intricate and custom design elements for your projects.
Final Thoughts
In conclusion, mastering how to slice in design space is crucial for creating impactful designs. By breaking down complex projects into manageable parts, designers can streamline the creative process and maintain a clear focus. This approach allows for greater flexibility and experimentation while ensuring the overall vision remains intact. Remember, slicing in design space empowers designers to dive deeper into details while keeping sight of the bigger picture.